- 9 24A St Al Quoz Industrial Area 1
- info@wallpaintdubai.ae
Painting a garden fence can be one of the moving tasks as it brings life back to your outdoor area and adds more charm to your garden. Whether you wish to avoid the decay of the wooden fence or want to repaint your garden, a well-painted wall can do wonders. Here are ten tips for garden fence paint to help you get a professional look and have a great time with your new, improved garden.
Wall Paint Dubai offer the right paint for the durability of your fence painting and the overall aesthetic. It is better to choose exterior paint or wood stain used only for exterior projects. Exterior paints are made durable to face weather conditions, whereas stains seep into the exteriors of the woods, giving a natural finish with protection. For a green choice, use low-VOC or waterborne paints instead of traditional oil-based ones.

Proper preparation will provide a smooth, long-lasting finish. Pressure-wash or hose the wall to release dirt, mildew, and chalking old colour. Scratch—off is available, as is skinning or flaking paint with a wire brush or scraper. Lightly sand wild places for an even finish that helps with paint adhesion.
Before painting the garden fence:
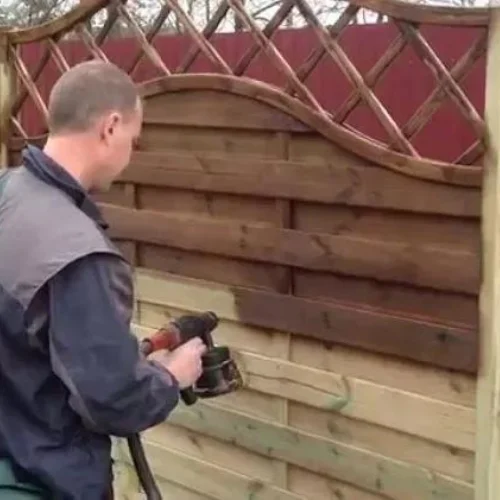
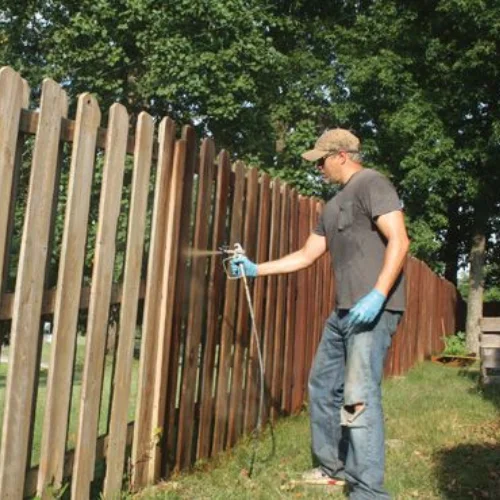
Best-quality brushes and rollers will give you a silky, even coat. Use a little brush to work on the details, such as between the fence panels. A roller with an attachment handle will speed up the job and make it easier for large, lying areas.

If painting a bare or new wooden fence, using a primer is a good idea. Primer seals the wood, often improving garden fence paint grip and reducing the number of topcoats needed. Select a primer that is consistent with your chosen paint.
They keep a “wet edge” while painting, which helps avoid visible stripes and color variations. For example, they consistently keep a “wet border” to prevent lines and color contrasts that the painter does not want to occur. This border represents that new paint must be incorporated into previously painted areas before dries.
For a more vital and vibrant finish, apply a second coat of paint after the first coat has thoroughly dried. The second coat will improve coverage, enhance color depth, and offer extra protection. Follow the factory’s guidelines for the suggested drying times between coats.
After painting, wash your brushes, rollers, and tools with water or the right cleaner for your paint type. Properly store excess paint for touch-ups in the end. To keep your border looking its best, regularly inspect it for signs of wear or deterioration and do touch-ups as needed.

Painting your garden furniture is a beautiful way to refresh your outdoor space and save investment. These garden fence painting ideas can achieve a professional-quality finish that enhances your garden’s beauty and longevity. With the appropriate practice, tools, and techniques, your newly painted fence will stand out as a good-looking quality of your garden for years to come.